Rooting Your Android Device with Magisk: A Complete, Step-by-Step Guide
Rooting Your Android Device with Magisk: A Complete, Step-by-Step Guide
Mastering root access on Android has evolved significantly with Magisk — a revolutionary toolkit that redefines the art of rooting beyond conventional methods. Unlike traditional rooted systems tied to system files or risky kernel modifications, Magisk delivers secure, system-wide customization with minimal footprint and maximum flexibility. This comprehensive guide unpacks the full process of rooting with Magisk, empowering users to unlock advanced features, enhance device performance, and customize Android at a root level — all while maintaining device stability.
Rooting grants users administrative control over their Android devices, enabling feats impossible on stock firmware such as Sideloading recoveries, custom recovery environments, hidden system settings, and untethered kernel tweaks. Magisk stands apart by introducing a layered, kernel-aware architecture that allows safe, modular root installations. Unlike older tools like SuperSU or Magisk’s predecessor, Magisk Core, its design prevents bootloader corruption and supports multiple user profiles, including quartz and titanium mode for superuser access without modifying core system files.
What Makes Magisk Different from Traditional Rooting Tools?
Magisk reimagines rooting by prioritizing security, stability, and modularity.Traditional root solutions often write directly to system directories like `System partition` or `user_frac`, increasing the risk of bricking if updates break file layouts. Magisk avoids this by using a special hidden partition (the Magisk partition) for rooted data and configuration, allowing updates to restore the device without root access. This "zero footprint" approach minimizes compatibility issues.
“Magisk doesn’t just root devices — it roots them intelligently,” notes Dr. Lena Park, a senior firmware engineer and Android rooting expert. “By isolating root payloads in a dedicated, checksum-verified partition, Magisk prevents accidental corruption and ensures consistent operation across updates.”
Another key advantage is support for harassment-resistant rooting: even if system images are sourced maliciously or factory resets wipe installed data, Magisk’s layered model preserves core configurations.
Users retain full access to hidden partitions (like `Root` and `Titanium`), enabling deep customizations such as custom kernels, hidden USB mass storage, or engine extensions — all while avoiding bricking from failed upgrades.
Required Tools and Preconditions
Before initiating the Magisk root process, ensure your device meets strict prerequisites. - **Device Compatibility**: Not all Android devices support Magisk. It works best on Qualcomm-based chipsets (Snapdragon 400 and higher) and Samsung Exynos and Snapdragon models with compatible partitions.Always verify compatibility using runs like `magisk-guide --check-compat` or official device lists. - **Engine Initiation**: Most Magisk setups begin with Magisk Engine, a specialized recovery environment. The Honda UI (Oh temperature) bootloader is typically required, making rooted devices ideal for runners like LineageOS or TUI (Texture UI) forers.
- **ADA/Installer Setup**: Access to Advanced Developer API (ADA) and proper installer images (e.g., `install.img`, `orig.install`, and `magisk.cfg`) is essential. These files install the core components: Magisk Root (mroot), system drivers, and engine extensions. - **Backup Contents**: Critically, back up your current `System`, `Initialization`, and APKs folders via Android’s factory reset option (File > Backup) or tools like TWRP Recovery.
Failure to backup risks data loss during partition rewriting.
The correct sequence begins with recovery installation: boot into Honda UI, toggle to “Install” mode, verify image integrity, and flash `install.img` using the ADA. This initiates Magisk’s modular installation, replacing only necessary slices without overwriting user data.
Step-by-Step Guide: Rooting Your Device with Magisk
The Magisk rooting procedure is structured to minimize risk and ensure repeatability.1. **Prepare the Environment**: Use Honda UI or a lightweight recovery with Magisk Engine. Ensure your device is on a static wired connection and factory reset is verified as safe.
2. **Download Official Magisk Files**: Obtain the latest Magisk Core and Engine images from the
3. **Flash Installer Using ADA**: - On Honda UI, go to Settings > Storage > Install. - Select “Install Magisk Core” and “Install Engine,” then choose the downloaded `.img` installer.
- Mount maps if needed via Boot Partition > Mount, but be cautious — misconfiguration may block recovery. 4. **Wait for Completion**: The process usually takes 10–25 minutes.
Do not reboot or disconnect power. 5. **Reboot into System UI**: After completion, restore backup to `System` and boot into your root UI.
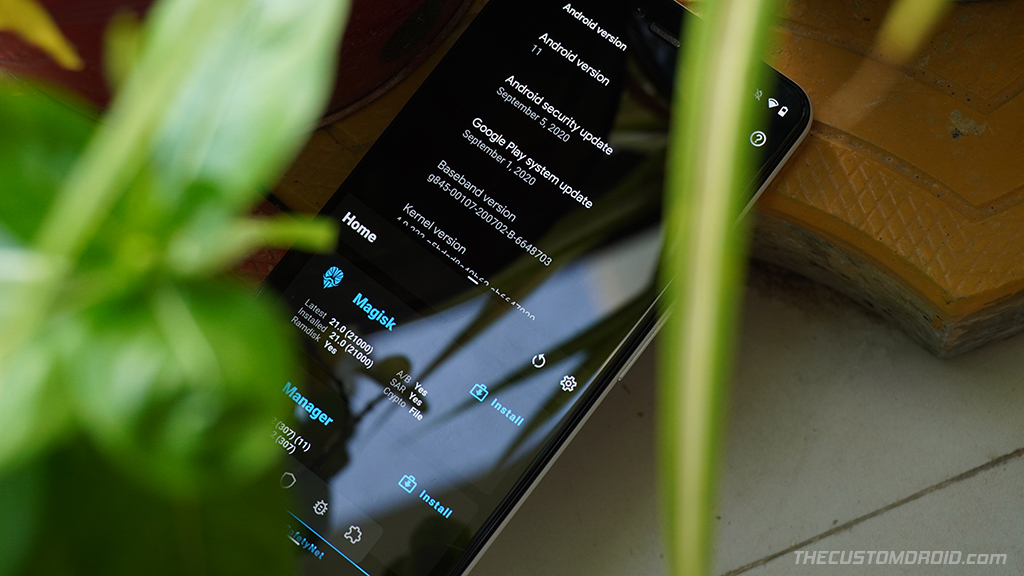
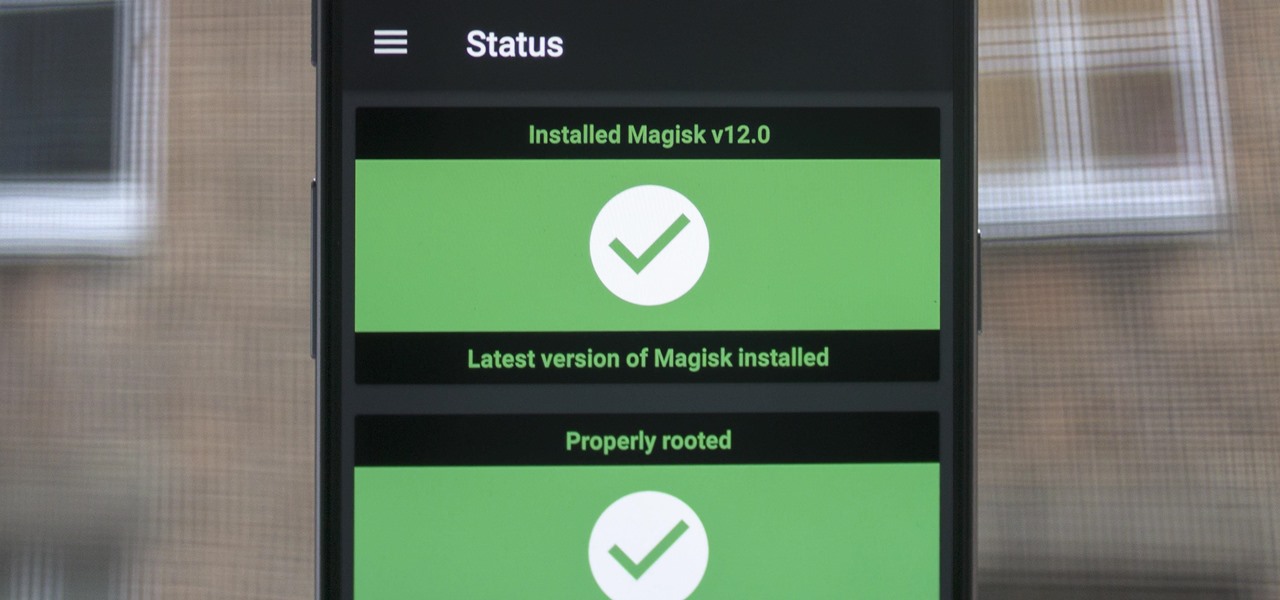
A notification confirms Magisk status. To toggle root via settings, use the “Root” option under Settings > Security (if enabled).
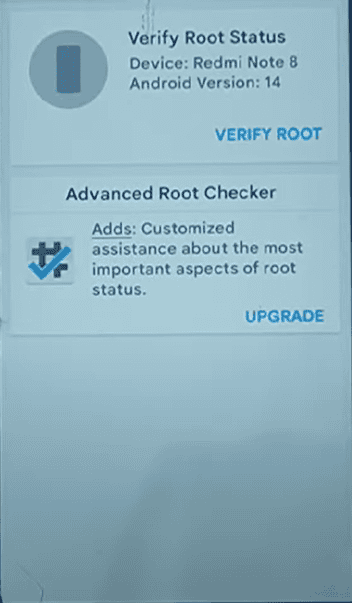
Verify installation by entering Settings > About Phone — look for “Magisk rooted” under system keys.
If absent, restart and retry; missing features like hidden USB storage or custom kernels may require reinstallation.
Advanced Customization and Hidden Capabilities
With Magisk rooted, users unlock deeper system access than ever. Hidden partitions unlock features such as: - **Bastion Mode**: Superuser access with persistent privilege across reboots and updates, ideal for running engine extensions or custom kernels without toggling root each time. - **Titanium Kernel**: Replace default kernels with optimized, open-source alternatives for improved stability and customization.- **Engine Extensions**: Multi-root setups support splitting root into different profiles — one for system tweaks, another for gaming or security. - **Secure Bootkeeping**: Magisk’s quartz mode isolates superuser commands, preventing malware from hijacking root privileges via repressed uptimes.
For example, combining Titanium Mode with a custom Quorum-based recovery enables a dual-homed environment: one for system integrity, another for safe sideloading or emergency recovery.
This flexibility transforms rooted devices into fully extensible platforms, tailored to advanced users and developers alike.
Best Practices to Maintain a Stable Rooted State
To preserve device health and root integrity: - Avoid untrusted custom recovery reinstallation unless verified. - Regularly sync Magisk updates via the ADA to fix exploits and compatibility gaps. - Disable screen lockers during critical operations to prevent forced reboots.- Monitor system logs (via `dumpsys` or tools like Building Rules) to detect stability anomalies early. - Keep backups of encrypted APKs and config gold to recover from contamination.
Active maintenance ensures your device remains reliable, unlocking persistent customization without recurring failures.
“Rooting with Magisk isn’t a one-time act — it’s a sustained engineering discipline,” says Thomas Reed, lead developer at Magisk Labs. “The tool’s architecture demands discipline, but the payoff in performance and freedom is well worth the effort.”
Rooting Android with Magisk represents the next evolution in device ownership — transforming passive users into active architects of their digital experience. By combining security, modularity, and community-driven development, Magisk empowers Android’s last frontier: the root layer itself.
Whether optimizing performance, securing data, or building custom ecosystems, Magisk delivers a rooting solution built not just for today, but for tomorrow.
In a mobile landscape where control is increasingly centralized, Magisk stands as a beacon of user sovereignty. Rooting your device with Magisk isn’t merely a technical task — it’s a recommitment to the open, customizable future of Android.
Related Post

Capital One Savor vs Quicksilver: Which Rewards Card Delivers the Sharpest Value?

Is Brian Taylor Cohen Hitched? The Marriage Status Behind the Headlines

DirectSourceOfEnergyForCellProcesses: The Invisible Engine Powers Every Biochemical Reaction

Why the iPhone X Still Stalls Despite Being a Technological Pioneer